“`html
How to Plant a Hedge for Privacy
Creating a beautiful and effective privacy hedge involves several thoughtful steps, from planning to maintenance. Privacy hedges offer numerous benefits, such as enhancing the aesthetic value of your property and protecting against noise and prying eyes. This blog will guide you through essential phases: choosing the right location and plants for your hedge, gathering necessary tools, planting techniques, and ongoing care. Additionally, we will touch on how to optimize your hedge’s lifespan to ensure your privacy solution thrives for years. Whether you’re a seasoned gardener or a beginner, this guide provides valuable insights to help you achieve the perfect green barrier.
Benefits of Privacy Hedges
Privacy hedges provide a natural and aesthetically pleasing barrier that can enhance both security and beauty of your outdoor space. They are a fantastic alternative to fences, offering not just a visual shield but also sound dampening properties, which can be beneficial in noisy neighborhoods or near busy roads.
Additionally, privacy hedges are environmentally friendly and can improve air quality by trapping dust and pollutants. They also offer habitat and food for local wildlife, contributing to biodiversity. In landscapes where privacy is key, hedges can transform your garden into a secluded paradise, offering a green sanctuary to relax and entertain guests.
Planning Your Privacy Hedge
Determining the Right Location
Choosing the perfect location for your hedge is vital for its success. You’ll need to assess the amount of sunlight the area receives, as well as its exposure to wind and other environmental factors. Most hedge plants require full to partial sun, so ensure that the chosen spot can accommodate these needs.
Consider the proximity to buildings and power lines, as some plants can grow quite tall and wide. Ensure your planting respects local zoning laws and property lines to avoid potential disputes. A well-planned location will facilitate growth and prevent potential hazards as your hedge matures.
Choosing the Best Plants for Your Climate
Your regional climate plays a critical role in determining which plants will thrive as a privacy hedge. Consult with local garden centers or agricultural extensions to select species compatible with your area’s climate, soil type, and rainfall patterns.
Popular choices include evergreens like arborvitae and holly, which maintain their foliage year-round, providing constant privacy. Plants like bamboo can also work well but require more maintenance due to their rapid growth. Research your options to find the perfect balance of aesthetics, privacy, and maintenance level needed for your landscape.
Essential Tools and Materials for Planting
Digging and Planting Tools
Having the right tools is crucial for a smooth planting process. Essential digging tools include a spade or shovel for trench creation, and a hand trowel for more detailed work around roots. A wheelbarrow will be helpful for moving soil and plants around your garden.
Additionally, you may need a garden rake to smooth out soil and a tape measure or yardstick to ensure consistent spacing between your plants. Proper preparation with the right tools will make the process more efficient and enjoyable.
Soil Amendments and Mulch
Enhancing your soil can significantly improve the health and longevity of your hedge. Consider using organic compost, well-rotted manure, or peat moss to add nutrients and improve drainage. These amendments will create a favorable environment for root growth and development.
Mulch is also essential as it helps retain moisture, suppress weeds, and insulate the roots from temperature extremes. Apply a layer of organic mulch, such as shredded bark or straw, around the base of your plants after planting to enjoy these benefits.
Steps for Planting a Privacy Hedge
Step 1: Dig a Trench
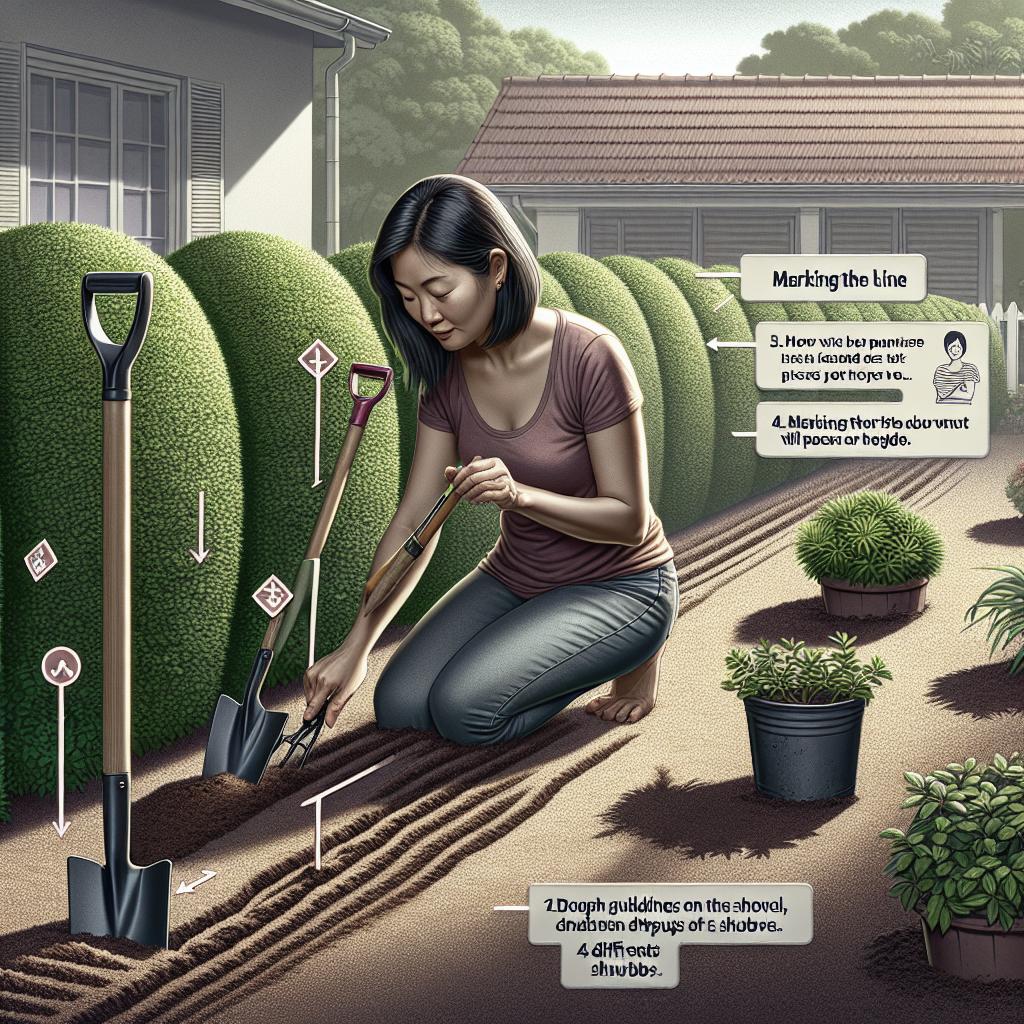
Begin by marking the area where you want your hedge. Use a string line for straight hedges or a hose for curved lines to guide your digging. Dig a trench wide and deep enough to accommodate the root balls of your plants comfortably. Trenches are generally preferred over individual holes as they allow more uniform soil conditions across the hedge length.
Ensure the bottom of the trench is level and remove any large clods or stones which could impede root growth. This preparation will provide your plants with the best foundation for taking root and spreading out.
Step 2: Roll the Tree into the Trench
Carefully position each plant in the trench, ensuring they are evenly spaced according to species-specific guidelines. This spacing is crucial to prevent overcrowding as the plants mature. Roll the root ball into the trench with care, and be sure that the top of the root ball is level with the surrounding soil.
Planting at the correct depth ensures proper growth patterns and reduces the risk of diseases associated with improper planting depths. Taking the time to arrange your plants carefully will pay off with a healthy, thriving hedge.
Step 3: Tease out the Roots
Before you backfill the trench, gently tease out any circling roots from the plant’s root ball. This encourages the roots to grow outward into the surrounding soil rather than continuing to circle, which can strangle the plant as it grows.
Take care not to damage the roots during this process. Encouraging proper root spread is essential for the long-term stability and nourishment of the hedge.
Step 4: Soak the Soil
After planting, give your hedge a deep watering to help settle the soil around the roots and eliminate air pockets. Use a hose or watering can to thoroughly soak the trench; this will promote root establishment and reduce transplant shock.
Depending on your local weather and the time of year, this initial soaking might need to be followed by frequent watering as the plants become established. Keeping the ground adequately moist will result in a more vigorous hedge.
Caring for Your Newly Planted Hedge
Watering Schedule
Establish a consistent watering schedule to keep your hedge healthy, particularly during its first year. New plants require regular watering, possibly every two to three days, depending on climate and weather conditions.
Monitor your hedge regularly to ensure the soil is moist but not waterlogged. Adjust your watering frequency as necessary, taking into account natural rainfall and seasonal changes.
Fertilizing and Mulching
Appropriate fertilization supports strong growth and vibrant foliage. Choose a balanced, slow-release fertilizer, applying it according to the manufacturer’s recommendations for the plant type. Often, early spring and later summer are ideal times for feeding.
Maintain your mulch layer to ensure continued moisture retention and weed suppression around your hedge. Refresh it seasonally, keeping it a few inches thick while ensuring it doesn’t pile up directly against plant stems, which can encourage rot.
Maintaining Your Privacy Hedge
Pruning Techniques
Regular pruning encourages healthy growth and helps maintain the desired shape and size of your hedge. Prune during the appropriate season for your plant species, which is often late winter or early spring before new growth begins.
Use sharp, clean tools to avoid damaging the plant tissue, and remove any dead or diseased branches promptly. Training your hedge from an early stage will help it develop a dense, impenetrable form that provides maximum privacy.
Dealing with Pests and Diseases
Vigilance is key when it comes to preventing pests and diseases in your hedge. Inspect your plants regularly for signs of trouble, such as discolored leaves, stunted growth, or visible insects. Early detection allows for more effective control measures.
Implement organic pest control methods when possible, such as beneficial insects or neem oil sprays. If chemical interventions are necessary, use them judiciously to minimize environmental impact. Keeping your hedge healthy through proper care will naturally reduce susceptibility to pests and disease.
Timeline for Privacy Hedge Growth
First Year Care
The first year is crucial for establishing your hedge. Focus on consistent watering, mulching, and protection against extreme weather conditions. You may need to provide shielding in the form of burlap barriers during harsh winters or extreme summer heat.
Be patient as your hedge will typically grow slower in the initial stages, focusing energy on developing root systems. Consistent care and attention in this period will lay a strong foundation for future growth.
Long-Term Development
From the second year onwards, you should begin to see more visible growth in your hedge. Pruning becomes an important task to manage size and encourage thick, robust foliage. Over time, your consistent care will result in a dense, lush barrier.
Remember that plant growth rates vary significantly between species—some hedges may take several years to fully mature. Continue regular maintenance to ensure your hedge remains a thriving, effective privacy solution.
Extending the Lifespan of Your Hedge
To maximize your hedge’s lifespan, prioritize consistent care and timely interventions at the first sign of issues. Regular feeding, watering, and disease prevention will keep your plants healthy and robust.
Additionally, an understanding of your selected species’ specific needs can lead to adjustments in care strategies tailored to optimize their growth potential over the long term. Protecting against soil erosion, waterlogging, and other environmental stressors is also crucial for longevity.
Popular Plants for Privacy Hedges
Some of the most popular plants for effective privacy hedges include Boxwood, with its classic look and adaptability to clipping, and Arborvitae, known for its fast growth and dense foliage. Leyland Cypress is another favorite for its height and speed of establishment.
Non-evergreen options, like Hornbeam and Beech, offer vibrant seasonal color changes but require more maintenance in leaf collection. For eco-conscious gardeners, varieties like Serviceberry provide flowers and berries for wildlife while forming an attractive screen.
Next Up In Landscaping
Once your hedge is established, look to expand your gardening repertoire. Consider integrating complementary plantings like groundcovers or flowering shrubs to enhance the visual appeal and ecological diversity of your garden.
Incorporating features such as pathways, decorative stones, or water elements can create a multidimensional garden experience. With a strong foundation of privacy provided by your hedge, your landscape can truly flourish.
Summary of Main Points
| Topic | Key Points |
|---|---|
| Benefits of Privacy Hedges | Aesthetic value, noise reduction, environmental benefits, biodiversity support |
| Planning Your Privacy Hedge | Location selection, climate-suitable plants |
| Essential Tools and Materials | Digging tools, soil amendments, mulch |
| Steps for Planting | Trench digging, plant positioning, soil soaking |
| Caring for Your Hedge | Watering schedule, fertilizing, mulching |
| Maintaining Your Hedge | Pruning, pest and disease management |
| Timeline for Growth | First year care, long-term development |
| Extending Lifespan | Consistent care, proper species-specific strategies |
| Next Steps | Expanding to include groundcover and structural features |
“`